

Part 1 – The design before Xcode
Here at Analystik, we have done a case study for the creation of an iPhone application using the Xcode development environment. We searched online and couldn’t find a good step by step tutorial of the process, so we decided to create one for you. Here it is ! At first, this part concentrates on the early stages before you get into Xcode, so these steps are the same for an iPhone, Android or Windows (with some differences in the exportation of files).
Step 1 : Finding an idea for an app
First, you need an idea – a good idea. There are a lot applications in App Stores so making an app that already exists is almost always useless. Finally, we choose an app which allows people to compare the fees of a car that runs on gas versus owning an electric car.
We needed a server that accepts Rest calls from a database to chose the brands of the cars. The app is very simple and so is the server because our objective is more to prove our expertise in the Business Intelligence behind the app. However, if you create a server or connect to another server, Appel emphasizes security. In iOS10, you have to make changes in the « info.plist » file to access an http server.
Step 2 : Make a prototype (GUI)
Before you begin to design the application with a mockup tool, it is a good idea to make some quick models by hand to test the logic of how the app will run. Here, we can already begin to give a style or look to the idea and can start to elaborate the storyboard. These sketches should be really quick (30 seconds to 2 minutes). Once we are satisfied, we go to the computer.
Step 3 : Creating the interface
Once the requirements are set and the conceptual design is complete, it is time to create the interface. We use Sketch3, but you can also use Adobe XD. We don’t recommend Photoshop or Illustrator because it will take longer to export the images.
The x’s
In iOS applications, you’ll find mention of 1x, 2x, and 3x images. Since the iPhone 4, screen quality has improved, so to prevent blurred images, you need high-resolution images. The « x » is used to classify images : 1 x equals a resolution of 72 dpi, 2x is 144 dpi and 3x is 326 dpi. You don’t need to remember the dpi, just remember that 2x will be two times larger than 1x and 3x is three times larger than 1 x (hence the advantage of using vector graphics).
Sketch has plug-ins such as “constraint“; to quickly create other versions of our design. “Aeiconizer” to copy and to make different dimensions for the icons. It is also possible to export the vector images 1x, 2x, and 3x in a way that is native to the software.
The application icon
We begin with the icon. We insert an artboard of 1024px by 1024px and we draw the drawing in vector (recommended) inside.
![]()
Next, we run “Aeiconizer” and it generates all sizes for icons (1x, 2x, 3x) iPhone 4, 5, 6, iPad, iTunes, etc.
Simply select all of the icons, click on “make exportable” in the lower right corner and export all in 1x.

Since the different sizes (2x, 3x) are already created, it is unnecessary to generate a version other than 1x. Everything is already there !
The story-board
Xcode works with a storyboard (or multiple storyboards) for the course of your app. We just made one size, but you have to do all of the size. As well as the “splash screen”. Also, don’t forget that it has to work in the landscape format.
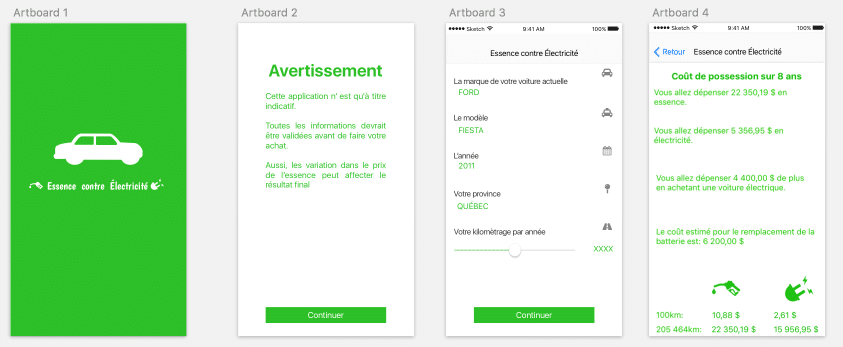
Normally, the iPhone SE is the smallest format.
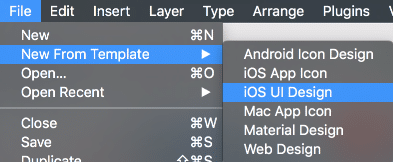
First, we create a new document with the template ” iOS UI design ” (File -> New Form Template -> iOS UI design). There are tons of symbols included and we can already see them on the screen.
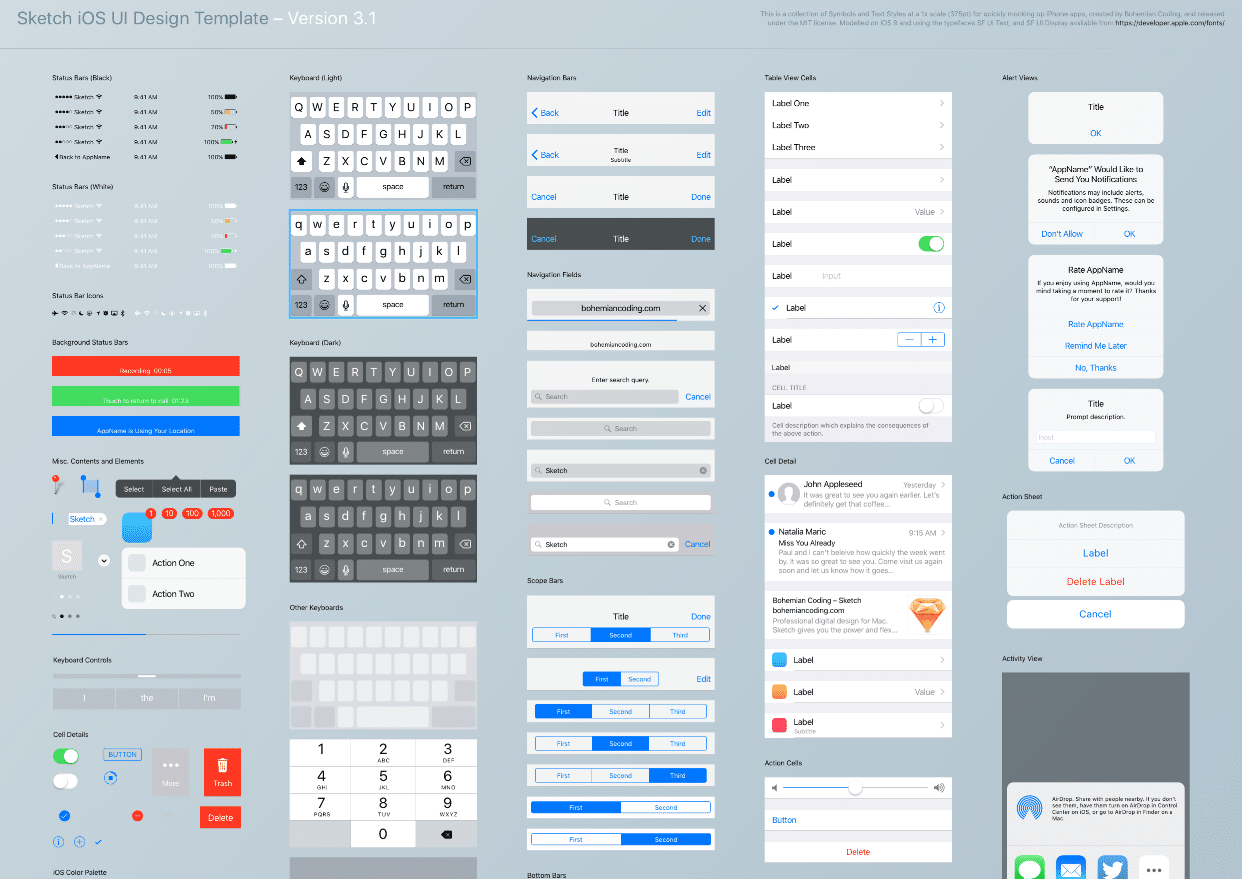
We insert an artboard the size of a phone with the menu on the right and we make our various designs.
We can insert symbols that are the default items in Xcode so we don’t need to export them. Note that the default margins are 20 px in Xcode, but you can decide to ignore them.

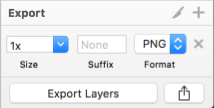
Finally, once our design has been created, we export the images individually in 1x, 2x, and 3x. We click on « make exportable » and on « + » to add sizes. The PNG format will do the job, but make sure that the layer you export has an easily identifiable name for later.

If you want to learn more about Sketch and all its functions, check out LevelUpTuts.
Leave a Reply